
What Paper Should You Use for Printable Planner Inserts?
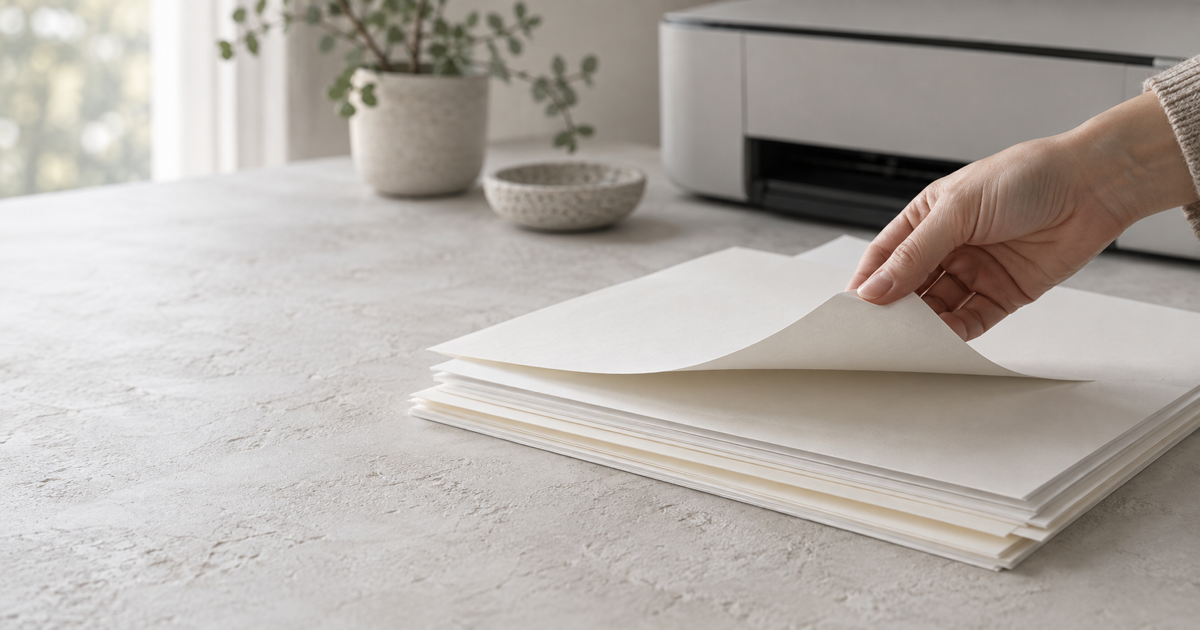
There is a particular sound a thin planner page makes when it turns. It is small, almost like a soft exhale. A thicker sheet has a different presence: more resistance under a fingertip, a firmer edge beside the rings.
Neither is automatically better.
At the studio, we use 70 gsm paper for our own planner printing. It keeps a growing stack of inserts light and easy to leaf through. That is a preference shaped by the way we use our pages, not a rule that every planner needs to follow. If a pen shows through too much, or a printer struggles with a certain stock, the useful question is not “What is the best gsm?” It is “What happens with this sheet in this setup?”
Start with what gsm actually tells you
Gsm means grams per square metre. It describes a sheet's mass per unit area, measured under the paper industry's grammage standard. A 70 gsm sheet is lighter than a 100 gsm sheet of the same size. The number does not, by itself, tell us how opaque the paper will look, how smooth it will feel, or how a particular ink will behave on it.
Thickness is a separate property. The ISO method for measuring paper thickness treats it separately from grammage and density. Two papers carrying the same gsm can therefore feel different when stacked or folded. A crisp, dense sheet and a softer, bulkier one may have the same weight on the packet.
This is why shopping only by a number can be disappointing. A labelled weight is a starting point. The page in your hand is the real sample.
Why we keep coming back to 70 gsm
Seventy gsm sits close to familiar everyday printer paper. It lets a ring-bound planner hold more pages before the stack feels crowded. A loose page bends readily when we turn it. For layouts with fine lines, light shading and generous blank space, that can be exactly the feeling we want.
There are limits. With a darker design on the reverse, a heavy inkjet setting, or a pen that lays down a lot of ink, marks may be visible from the other side. That visible image is show-through. It is not necessarily ink physically soaking through the sheet, which is bleed-through. The two are easy to confuse when a page is held against a window.
The distinction matters because choosing thicker paper is only one possible response. A more opaque paper at the same weight may help with show-through. Changing print density or choosing a lighter layout may also help. Bleed-through, on the other hand, asks us to look at the paper surface and the ink or pen as well.
HP's paper guidance describes opacity as the degree to which printing on one side shows through to the other, and recommends high-opacity paper for two-sided work. It is a useful reminder that “70 gsm” alone is not a verdict on duplex printing.
When a heavier sheet might feel better
Try a heavier stock if the reverse of the page distracts you while writing, if you use broad markers or wetter pens, or if you simply enjoy a firmer page. An 80 or 90 gsm sample is an easy next comparison. A 100 gsm sheet can feel pleasingly substantial, especially for a smaller number of frequently handled pages.
More weight also means more bulk across a full year of inserts. The difference between a single 70 and 100 gsm page may seem slight. The difference between two stacks of many pages is easier to notice at the rings. If a planner needs to travel in a bag, that accumulated weight and thickness may matter more than the feel of one new sheet.
We would not buy a large pack of heavy paper before checking the printer. One Canon support page specifies 64–105 gsm for plain paper on the printer it describes, while other models and feed paths have different limits. That is a model-specific example, not permission to use every weight in every printer. Look up your own printer's supported media and duplex range, including which tray takes the paper. A sheet that feeds singly may still be unsuitable for automatic two-sided printing.
Test the page you will actually use
Before deciding, print one real planner page on 70 gsm and, if you have it, one on a slightly heavier paper. Use the same PDF, printer setting and ink or toner for both. A blank sheet held to the light is interesting, but it cannot show how your printed layout will behave.
Then try this small sequence:
- Print the front at actual size. Check the lines, margins and any shaded areas.
- Print the reverse. Hold the sheet over an ordinary desk surface, not only against a bright window. Can you comfortably read and write on each side?
- Write in your usual pen. Let the ink dry, then look at the back. Notice show-through and actual bleed-through separately.
- Trim or punch the test page. Turn it in your planner several times. Does it catch at the rings, curl, or feel lovely to use?
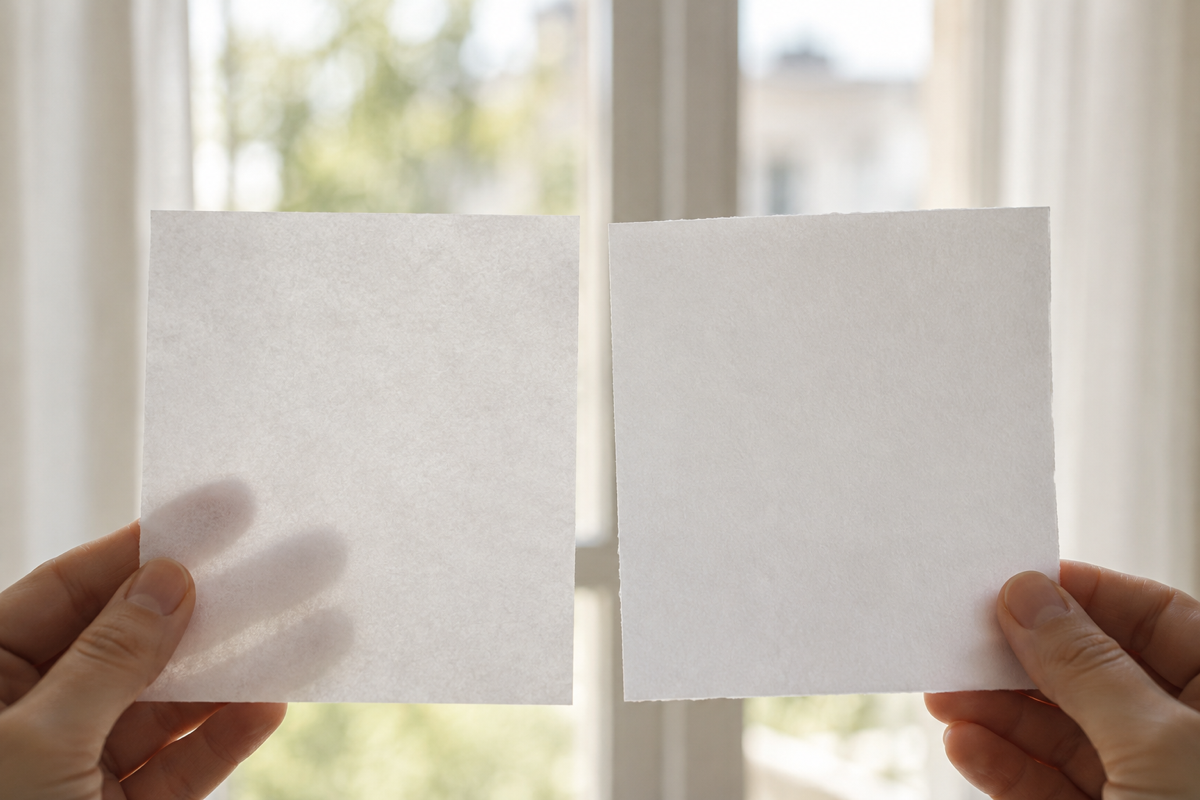
The window comparison is not a pass-or-fail exam. It exaggerates translucency. The desk-and-pen test is closer to the way the page will live.
If the print itself is mis-sized or the back is upside down, solve that separately before blaming the paper. Our guide to printing planner inserts at home walks through actual-size printing, duplex direction, trimming and the value of a single marked test sheet.
Paper has a direction, too
For loose ring-bound inserts, grain direction may be a small detail. For an insert you intend to fold into a booklet, it becomes more noticeable. Paper tends to bend more easily in one direction. Strathmore's paper guide explains that folding parallel to the grain makes a cleaner fold and helps pages turn and lie flatter.
You can feel for it without special equipment. Bow a sample gently one way, then the other. The easier bend gives a clue to its grain. If the project includes a fold, test that direction before printing the whole set. If it is simply a stack of punched sheets, the printer's feed behaviour and your writing test may deserve your attention first.
Choose the paper that makes the page usable
There is no need to graduate from 70 gsm to a thicker paper because a buying guide says so. If 70 gsm feeds cleanly, takes your usual pen, lets you read both sides comfortably and keeps your planner pleasant to carry, it has done its job.
If one of those things feels wrong, change one variable at a time. Try a higher-opacity 70 gsm sheet, a different print setting, or a small pack of 80 or 90 gsm. Compare the finished pages inside the planner, where they will actually be turned, rather than judging from unopened reams.
The best paper is rarely an impressive number. It is the sheet you stop noticing because the page works.