
How I Design My Own Planner Inserts (From Messy Sketch to Printed Page)
Most planner inserts I've found online are close, but never quite right.
The time blocks are too wide. The habit tracker doesn't match how I actually track things. The weekly layout has a notes section I'll never use, and no space for the thing I actually need.
So I started making my own. And after doing this enough times, I've developed a process that goes from "I need to record this thing" to a printed insert I actually use, without a lot of wasted time in between.
Here's how I do it.
Step 1: Notice the gap
It always starts the same way: I'm trying to record something in my life, and nothing I have fits.
Maybe I want to track my energy levels throughout the day, but every template I find is built around tasks and to-dos. Maybe I need a weekly spread that separates "must do" from "want to do," and every layout I've seen mixes them together.
The moment I notice that gap (I keep working around this format instead of with it), that's when I know it's time to design something new.
Step 2: Write down what you actually need
Before drawing anything, I write a short list of functions.
Not what it should look like. What it should do.
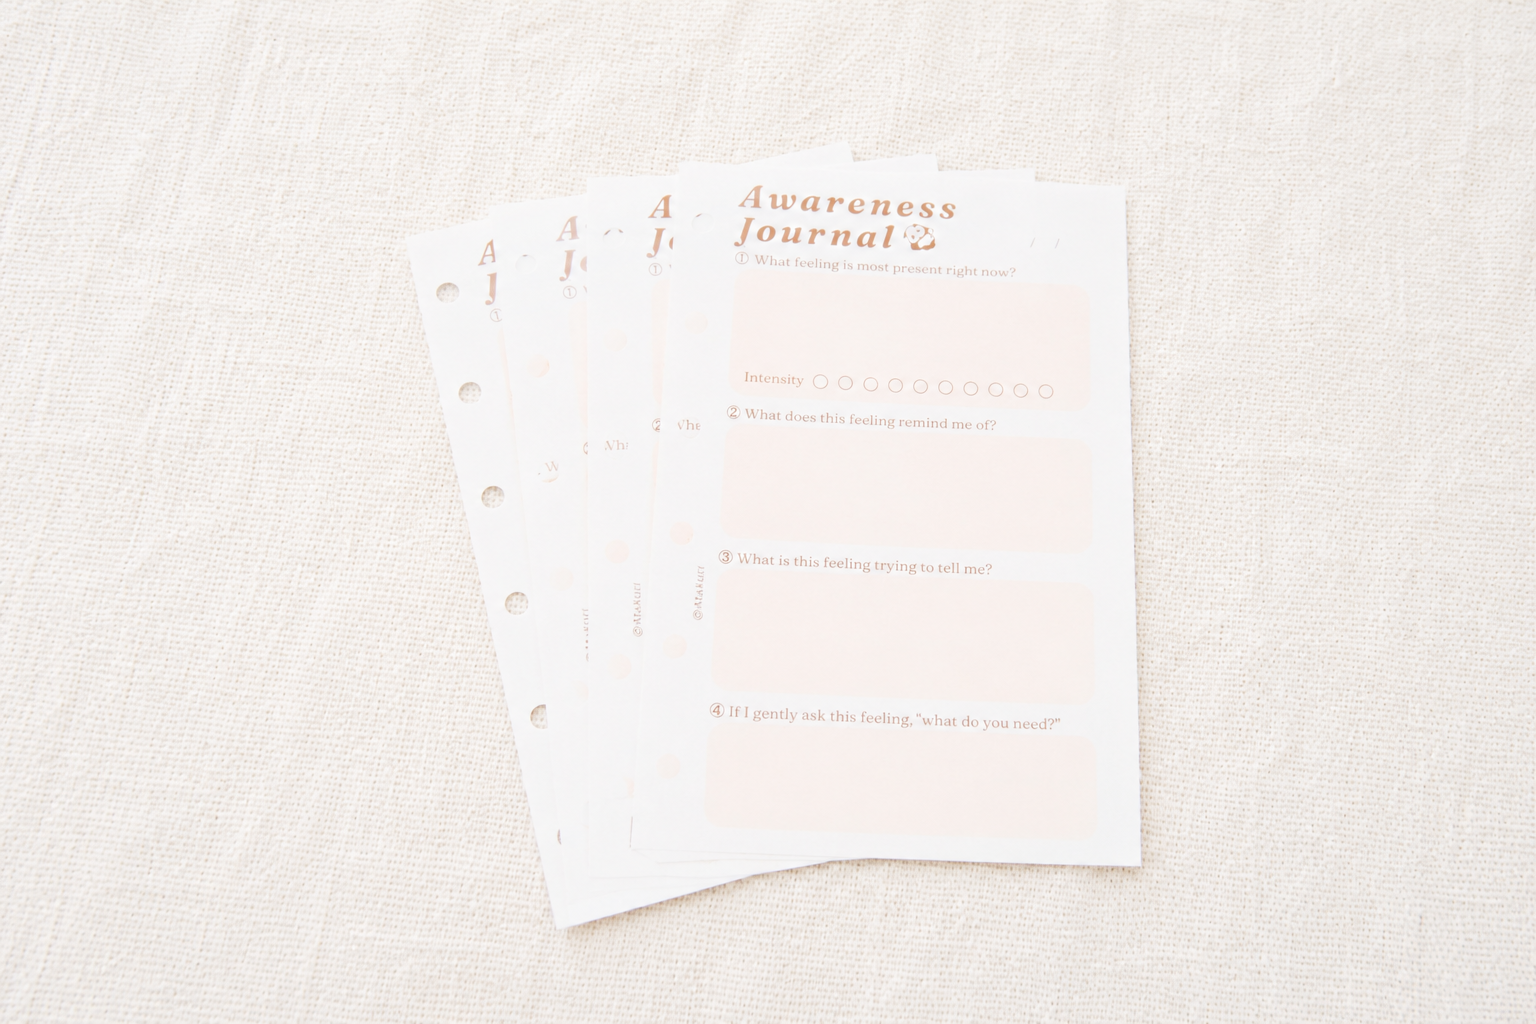
For example, when I was designing the Awareness Journal Insert, my list looked something like this:
- I need a space to check in with how I'm feeling, not just what I did
- It should take less than 5 minutes to fill in
- I want prompts, not blank lines (blank lines make me freeze)
- It needs to work for both good days and hard days
This list becomes the filter for every decision later. If a design choice doesn't serve one of these functions, it doesn't belong in the insert.
Step 3: Sketch it out, messily
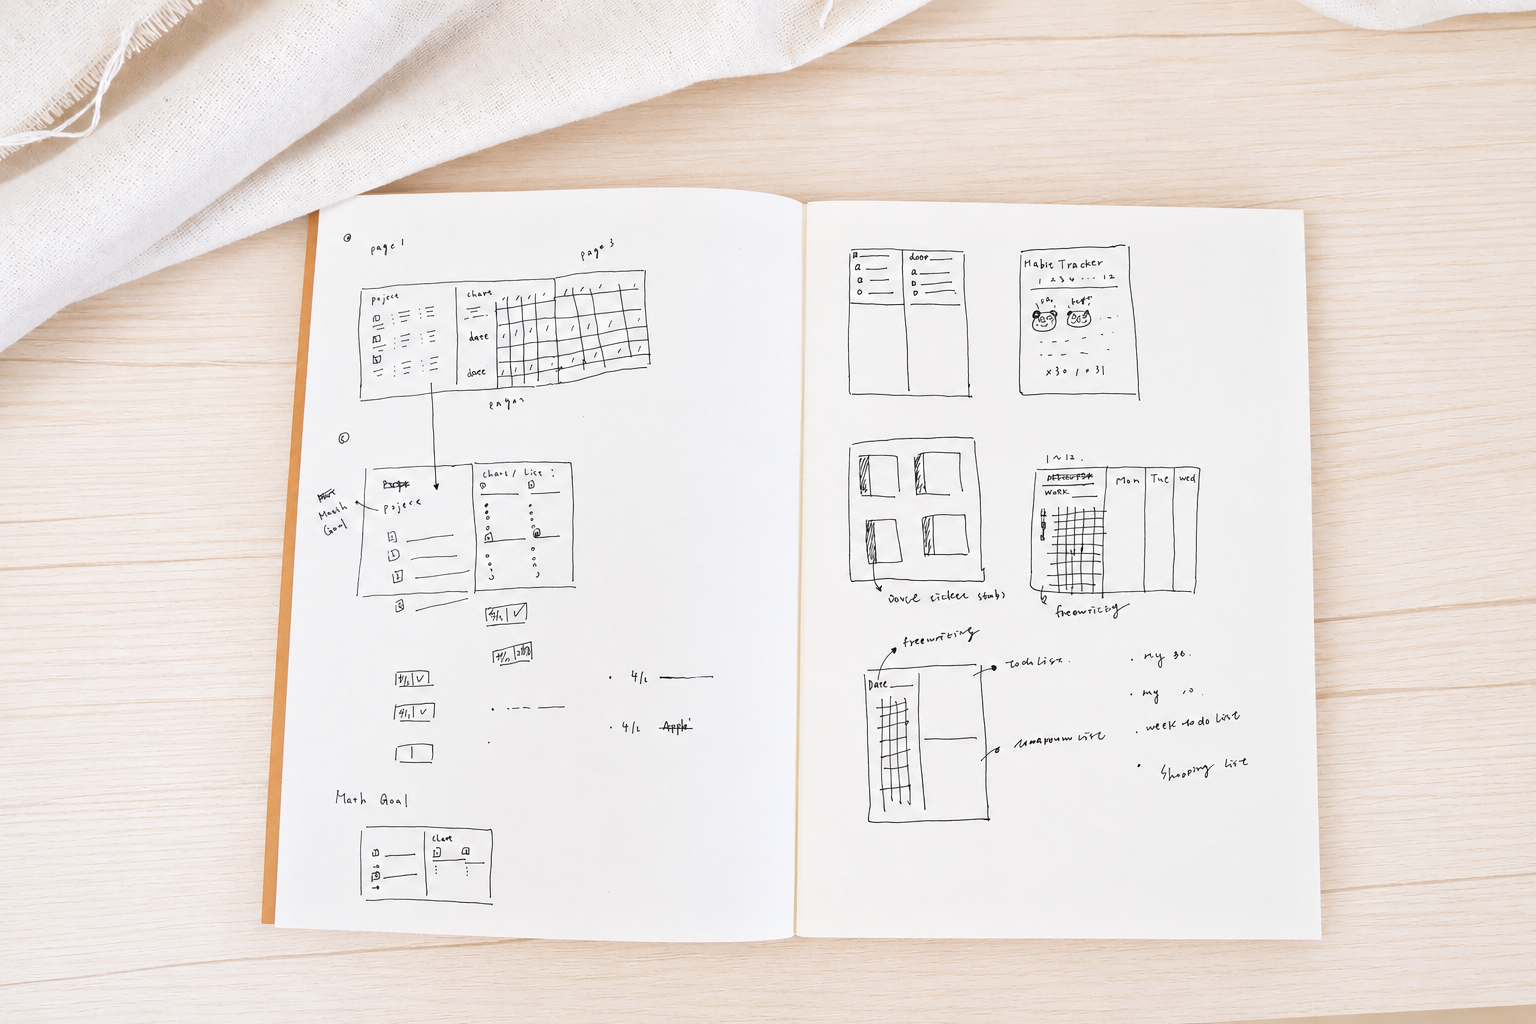
Once I know what it needs to do, I sketch.
And I mean messily. My brain moves faster than my hand, so my sketches look more like rough maps than actual designs. Lines go in the wrong place. Boxes are different sizes. Things get crossed out immediately.
That's fine. The point isn't a clean drawing. It's getting the idea out of my head and onto paper fast enough that I can actually look at it.
I usually sketch two or three variations at this stage. Not because I'm indecisive, but because the act of drawing one version immediately makes me think of a better one.
Step 4: Ask the hard questions
Before moving to the computer, I sit with the sketch and ask myself:
When I'm actually using this (tired, distracted, maybe in a rush), is this going to work?
Specifically:
- Is there anything here I'll skip every time?
- Is any section too small to write in comfortably?
- Does the flow make sense? Does my eye go where I want it to go?
- Is there anything missing that I'll wish I had?
This is where I usually find the problems. A section that seemed fine in my head becomes obviously too cramped on paper. A prompt I thought was useful turns out to be one I'd never actually answer.
I revise the sketch. Sometimes I start over entirely.
Step 5: Make multiple versions
I don't stop at one good sketch. I push until I have at least three or four variations, each solving the problem slightly differently.
This sounds like extra work, but it's not. The act of making version two usually reveals what was wrong with version one. Version three is often where something clicks.
When I can't think of another way to arrange things, that's when I know I've found the right one.
Step 6: Build it in Adobe Illustrator
Once I have a sketch I'm happy with, I move to the computer.
I work in Adobe Illustrator because I need precise measurements. Planner inserts have to fit specific ring sizes and page formats, so a few millimeters matter.
I set up my artboard at the exact size I need (A5, Pocket, M6), then build the layout grid first before adding any text or design elements. Every line, every text box, every prompt goes in based on the functional list I wrote in Step 2.
I also add crop marks at this stage, so the printed version is easy to cut cleanly.
Step 7: Print it. Use it. Adjust.
The first print is never the final version.
Something always looks different on paper than on screen. A font size that seemed readable becomes too small. A section I thought was too large turns out to be just right once there's actual handwriting in it.
I use the insert for at least a week before calling it done. Sometimes I go back and make small adjustments: a slightly larger text box, a rephrased prompt, a different arrangement. Then I print the final version.
The insert I use right now
The Awareness Journal Insert came from exactly this process.
I wanted a way to check in with myself, not just track tasks, but notice how I was actually doing. The first sketch was rough and half the prompts didn't survive to the final version. But after a few rounds of revisions and testing, it became something I reach for every day.
It's available in A5 and Pocket sizes, in both English and Chinese, with print and digital versions. If you want to try a ready-made insert before designing your own, you can find it here →
The best planner insert is the one built around how you actually think, not how someone else thinks you should.